Soil Moisture Sensor using Arduino: A Guide with Sample Code and LCD I2C

Introduction
Are you tired of guessing when to water your plants? Do you want to ensure that your plants are getting the right amount of moisture? Look no further! In this blog post, we will guide you on how to build a soil moisture sensor using Arduino. We will also provide you with a sample code to test the water percentage and display it on an LCD I2C.
What is a Soil Moisture Sensor?
A soil moisture sensor is a device that measures the water content in the soil. It helps you determine when to water your plants by providing real-time data on the moisture level. This ensures that your plants receive the optimal amount of water, preventing both overwatering and underwatering.
Components Required
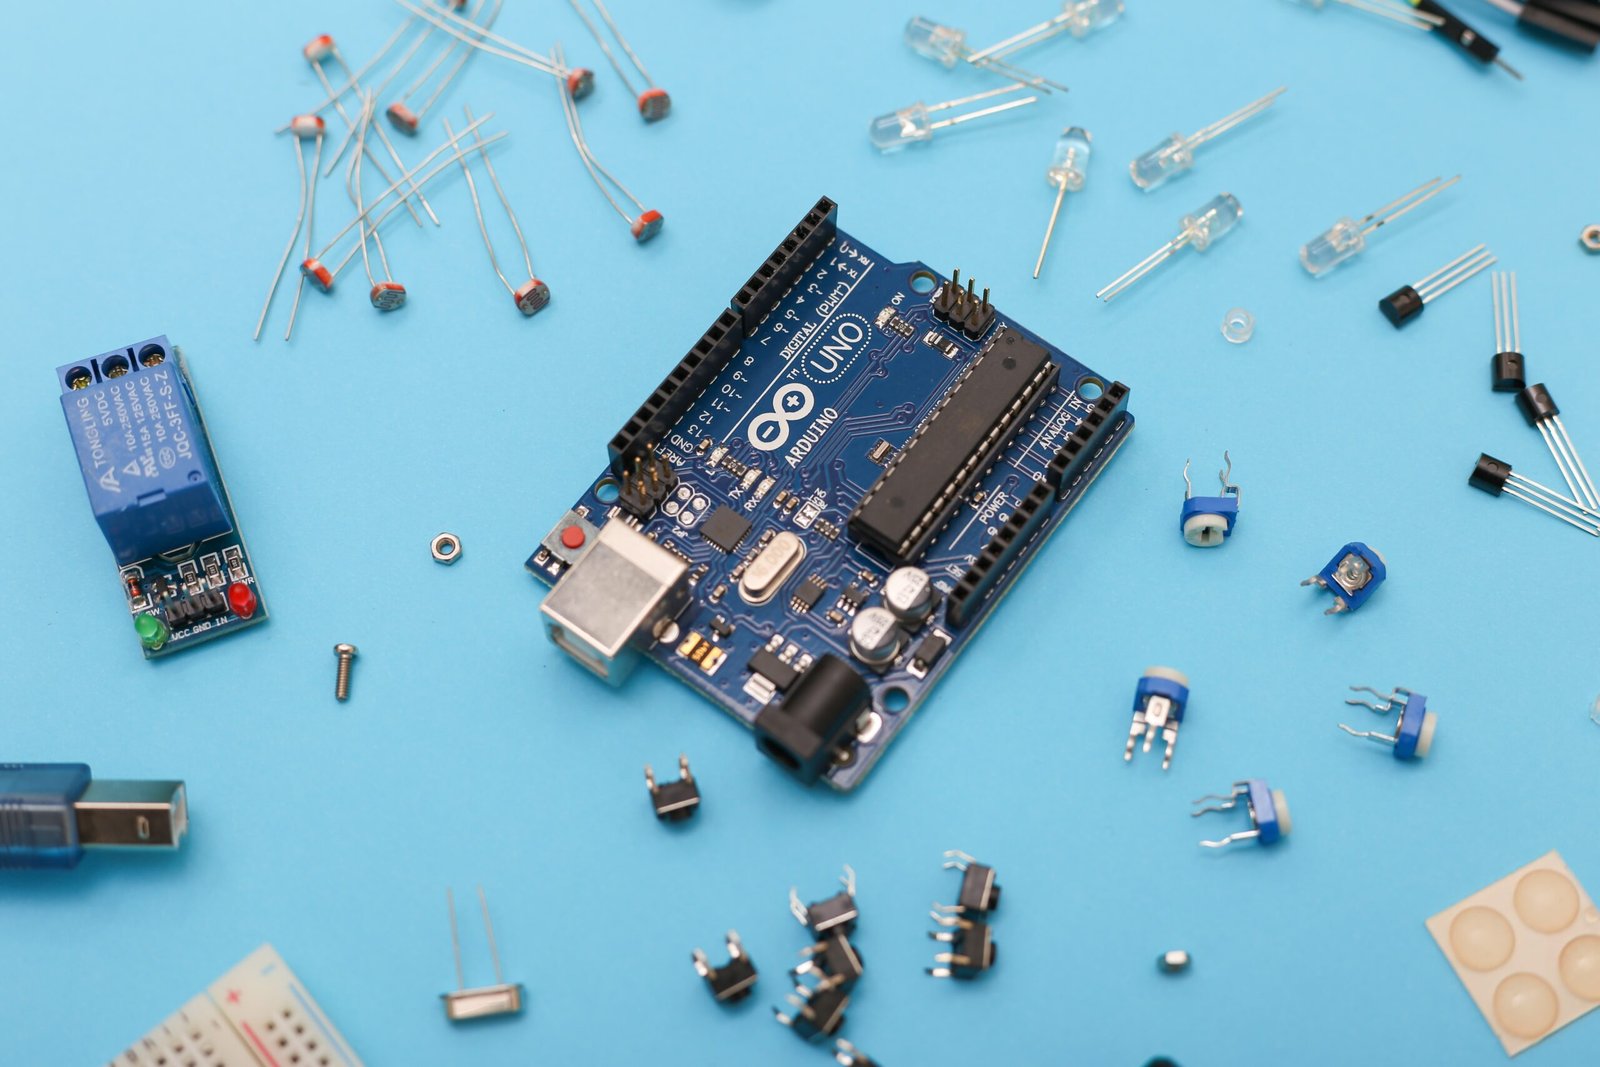
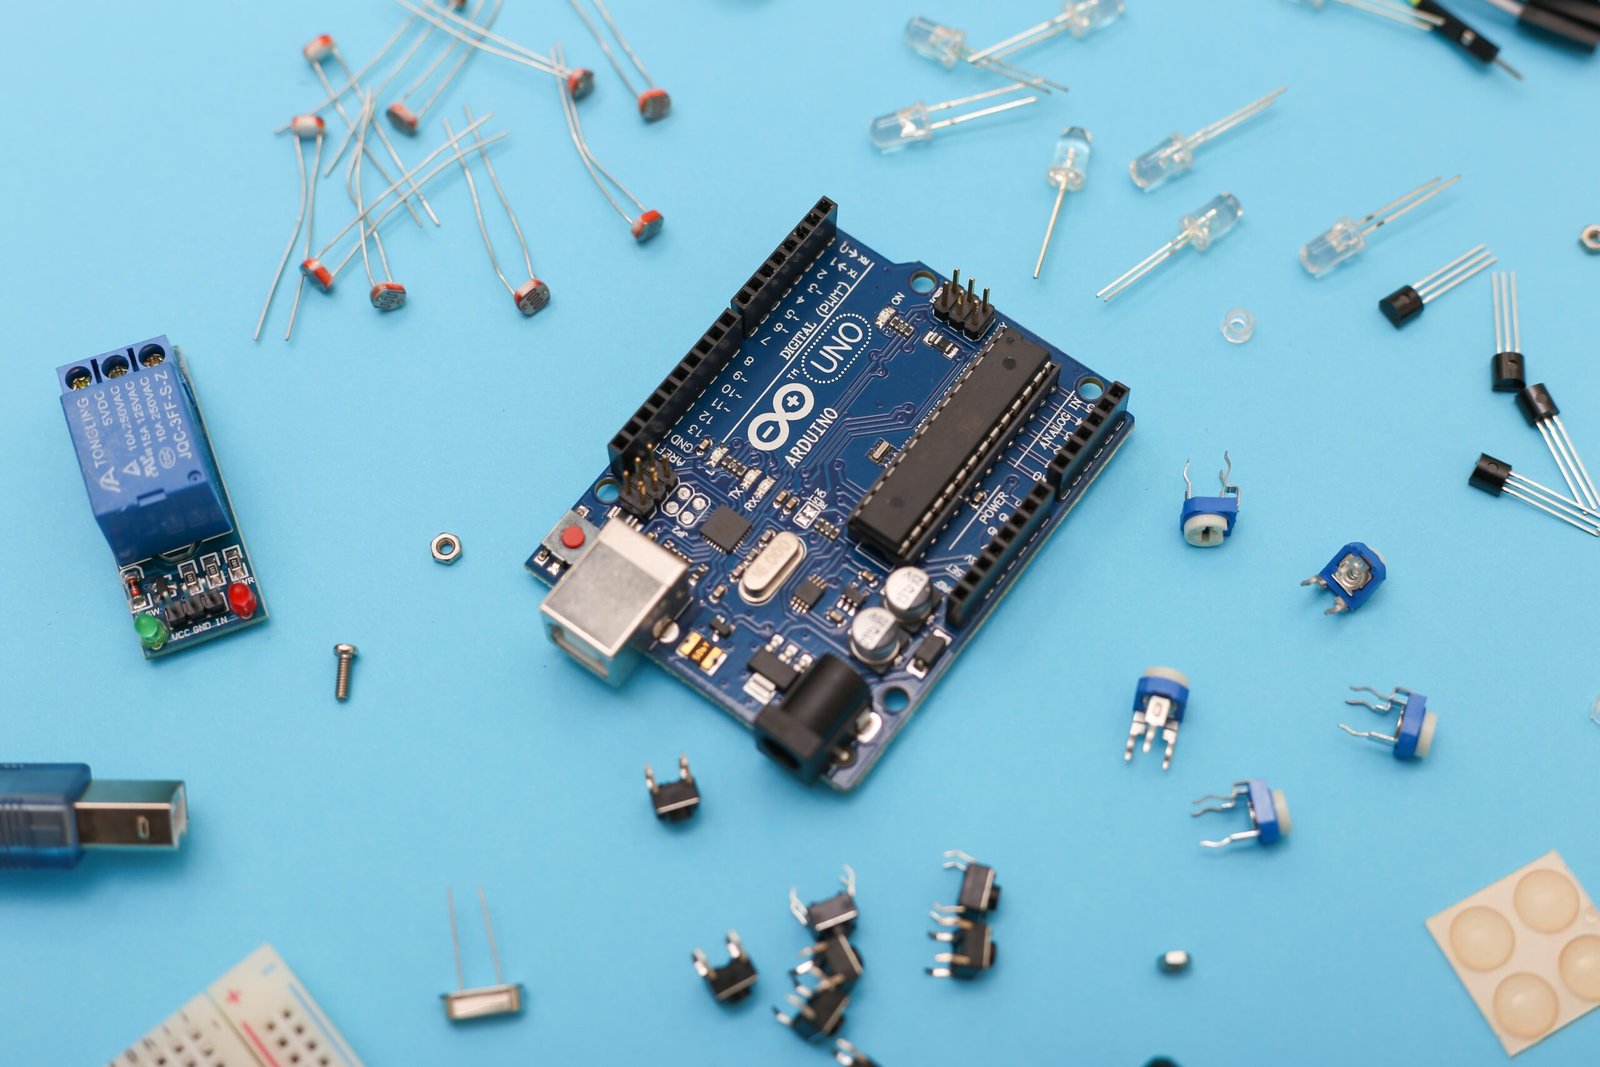
- Arduino Uno
- Soil moisture sensor
- LCD I2C module
- Jumper wires
Building the Circuit
1. Connect the VCC pin of the soil moisture sensor to the 5V pin of the Arduino.
2. Connect the GND pin of the soil moisture sensor to the GND pin of the Arduino.
3. Connect the A0 pin of the soil moisture sensor to the A0 analog input pin of the Arduino.
4. Connect the SDA pin of the LCD I2C module to the A4 pin of the Arduino.
5. Connect the SCL pin of the LCD I2C module to the A5 pin of the Arduino.
6. Connect the VCC and GND pins of the LCD I2C module to the 5V and GND pins of the Arduino, respectively.
Uploading the Sample Code
Before uploading the sample code, make sure you have installed the necessary libraries for the LCD I2C module. You can find the libraries and installation instructions on the Arduino website.
// Include the necessary libraries
#include <Wire.h>
#include <LiquidCrystal_I2C.h>

// Define the I2C address of the LCD module
#define LCD_ADDRESS 0x27

// Define the number of columns and rows of the LCD module
#define LCD_COLUMNS 16
#define LCD_ROWS 2

// Define the analog input pin for the soil moisture sensor
#define SOIL_MOISTURE_PIN A0

// Create an instance of the LCD module
LiquidCrystal_I2C lcd(LCD_ADDRESS, LCD_COLUMNS, LCD_ROWS);

void setup() {
  // Initialize the LCD module
  lcd.begin(LCD_COLUMNS, LCD_ROWS);

  // Set the backlight to on
  lcd.setBacklight(LOW);
}

void loop() {
  // Read the analog value from the soil moisture sensor
  int soilMoisture = analogRead(SOIL_MOISTURE_PIN);

  // Convert the analog value to a percentage
  int waterPercentage = map(soilMoisture, 0, 1023, 0, 100);

  // Clear the LCD screen
  lcd.clear();

  // Set the cursor to the first column of the first row
  lcd.setCursor(0, 0);

  // Display the water percentage on the LCD
  lcd.print("Water Percentage:");

  // Set the cursor to the first column of the second row
  lcd.setCursor(0, 1);

  // Display the water percentage on the LCD
  lcd.print(waterPercentage);

  // Delay for 1 second
  delay(1000);
}
Once you have installed the libraries and connected the circuit, you can upload the sample code to your Arduino board. Open the Arduino IDE, copy the code, and click on the upload button.
Testing the Soil Moisture Sensor
After uploading the code, you can test the soil moisture sensor. The LCD will display the water percentage, indicating the moisture level in the soil. You can adjust the watering schedule of your plants based on this information.
Conclusion
Building a soil moisture sensor using Arduino is a great way to ensure that your plants receive the right amount of water. With the sample code and LCD I2C module, you can easily monitor the moisture level in the soil and adjust your watering schedule accordingly. Happy gardening!
