PIR Motion Sensor using Arduino: A Simple Guide to Motion Detection with Buzzer

Introduction
Are you interested in creating a motion detection system using Arduino? Look no further! In this guide, we will walk you through the process of setting up a PIR (Passive Infrared) motion sensor with an Arduino board and testing it with a buzzer. Whether you want to add an extra layer of security to your home or experiment with motion detection for your DIY projects, this tutorial is perfect for beginners.
What is a PIR Motion Sensor?
A PIR motion sensor is a device that can detect motion by measuring changes in infrared levels in its surrounding environment. It is commonly used in security systems, automatic lighting, and other applications that require motion detection. The sensor consists of a pyroelectric sensor, which detects infrared radiation, and a Fresnel lens, which helps focus the infrared signals onto the sensor.
Materials Needed
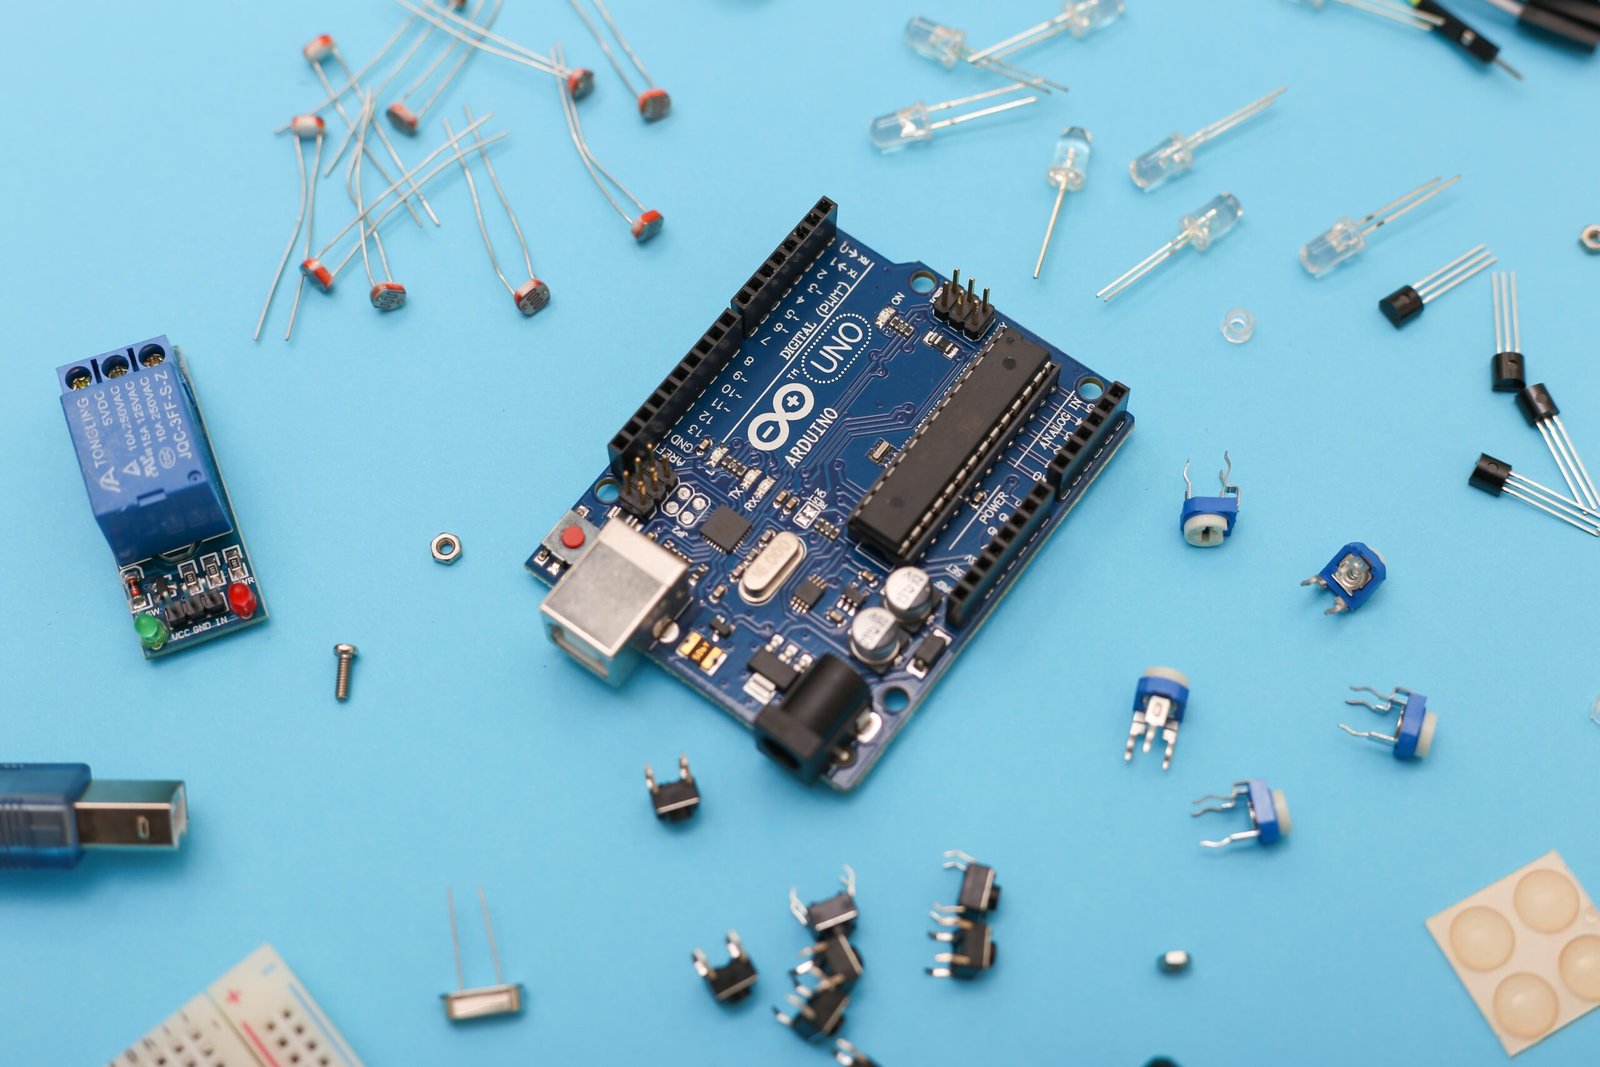
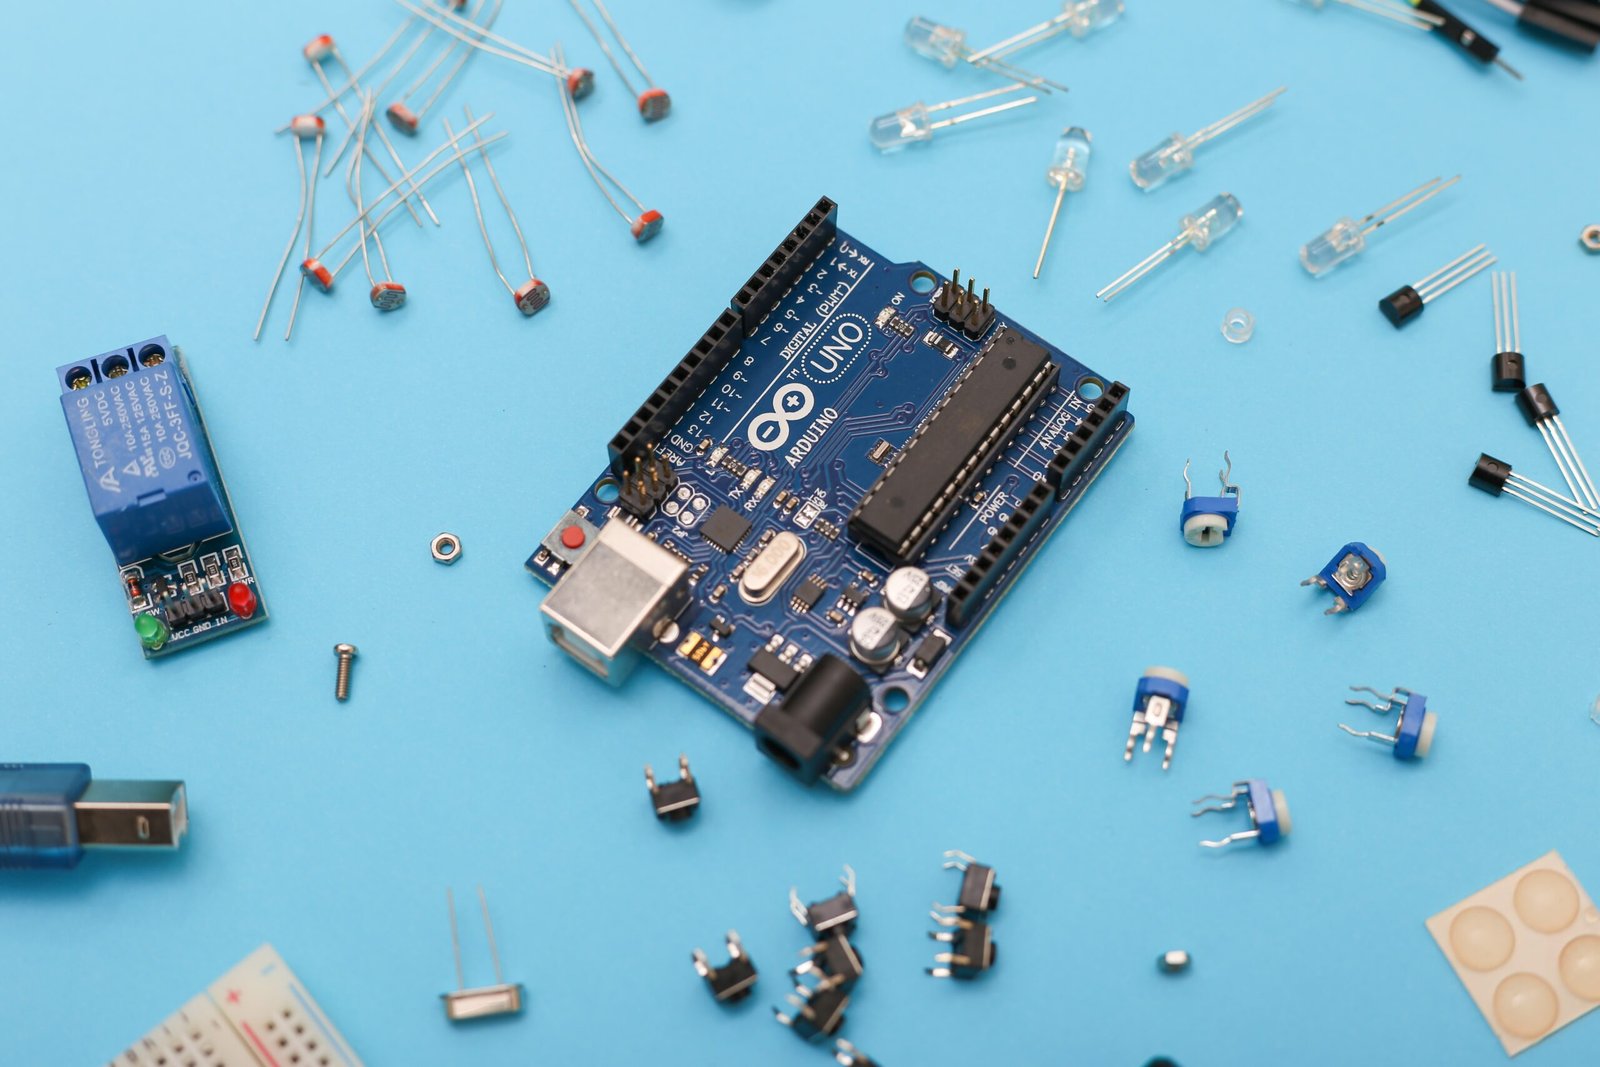
- Arduino board (e.g., Arduino Uno)
- PIR motion sensor module
- Buzzer
- Jumper wires
Wiring the Components
To start, connect the PIR motion sensor and buzzer to the Arduino board as follows:
PIR motion sensor VCC -> Arduino 5V
PIR motion sensor GND -> Arduino GND
PIR motion sensor OUT -> Arduino digital pin 2
Buzzer positive (+) -> Arduino digital pin 3
Buzzer negative (-) -> Arduino GND
Writing the Code
Next, open the Arduino IDE and create a new sketch. Copy and paste the following code:
int pirPin = 2;
int buzzerPin = 3;
int pirState = LOW;
int val = 0;

void setup() {
  pinMode(pirPin, INPUT);
  pinMode(buzzerPin, OUTPUT);
  Serial.begin(9600);
}

void loop() {
  val = digitalRead(pirPin);
  if (val == HIGH) {
    if (pirState == LOW) {
      Serial.println("Motion detected!");
      digitalWrite(buzzerPin, HIGH);
      delay(1000);
      digitalWrite(buzzerPin, LOW);
      pirState = HIGH;
    }
  } else {
    digitalWrite(buzzerPin, LOW);
    pirState = LOW;
  }
}
Testing the Motion Detection
Once you have uploaded the code to your Arduino board, open the Serial Monitor in the Arduino IDE. This will allow you to monitor the output from the PIR motion sensor. When motion is detected, you should see the message “Motion detected!” in the Serial Monitor.
In addition to the Serial Monitor output, the buzzer connected to the Arduino board will also sound for 1 second when motion is detected.
Conclusion
Congratulations! You have successfully set up a PIR motion sensor with an Arduino board and tested it with a buzzer. This simple project opens up a world of possibilities for motion detection applications. You can now explore more advanced features such as integrating the sensor with other components or creating a complete security system.
Remember to experiment and have fun while learning. Happy tinkering!
